Sometimes it feels like you’ve hit a wall on your art journey. You practice and practice, but your art still doesn’t turn out how you’d like it to. But don’t fear, because this blog outlines a few practical and simple tips you can use to become a better artist.
We’ll cover a couple of techniques that may help you improve your artwork, as well as some other methods you may not have thought about yet. The best part is that this advice is completely beginner-friendly.
Let’s begin!
Techniques
Mirror Your Artwork
While you’re in the creating phase, everything may look all peachy-keen. It’s only after spending hours (or days) working, do you notice that the anatomy or perspective may not be quite right. This easy method of checking your artwork allows you to catch mistakes early.
It’s easy. Just hold your artwork up to a mirror and analyze anything that looks off. I like to use this method at three points in my process: sometime during the sketch, during the final linework, and right before adding final details.
Learn the “Rule of Thirds”
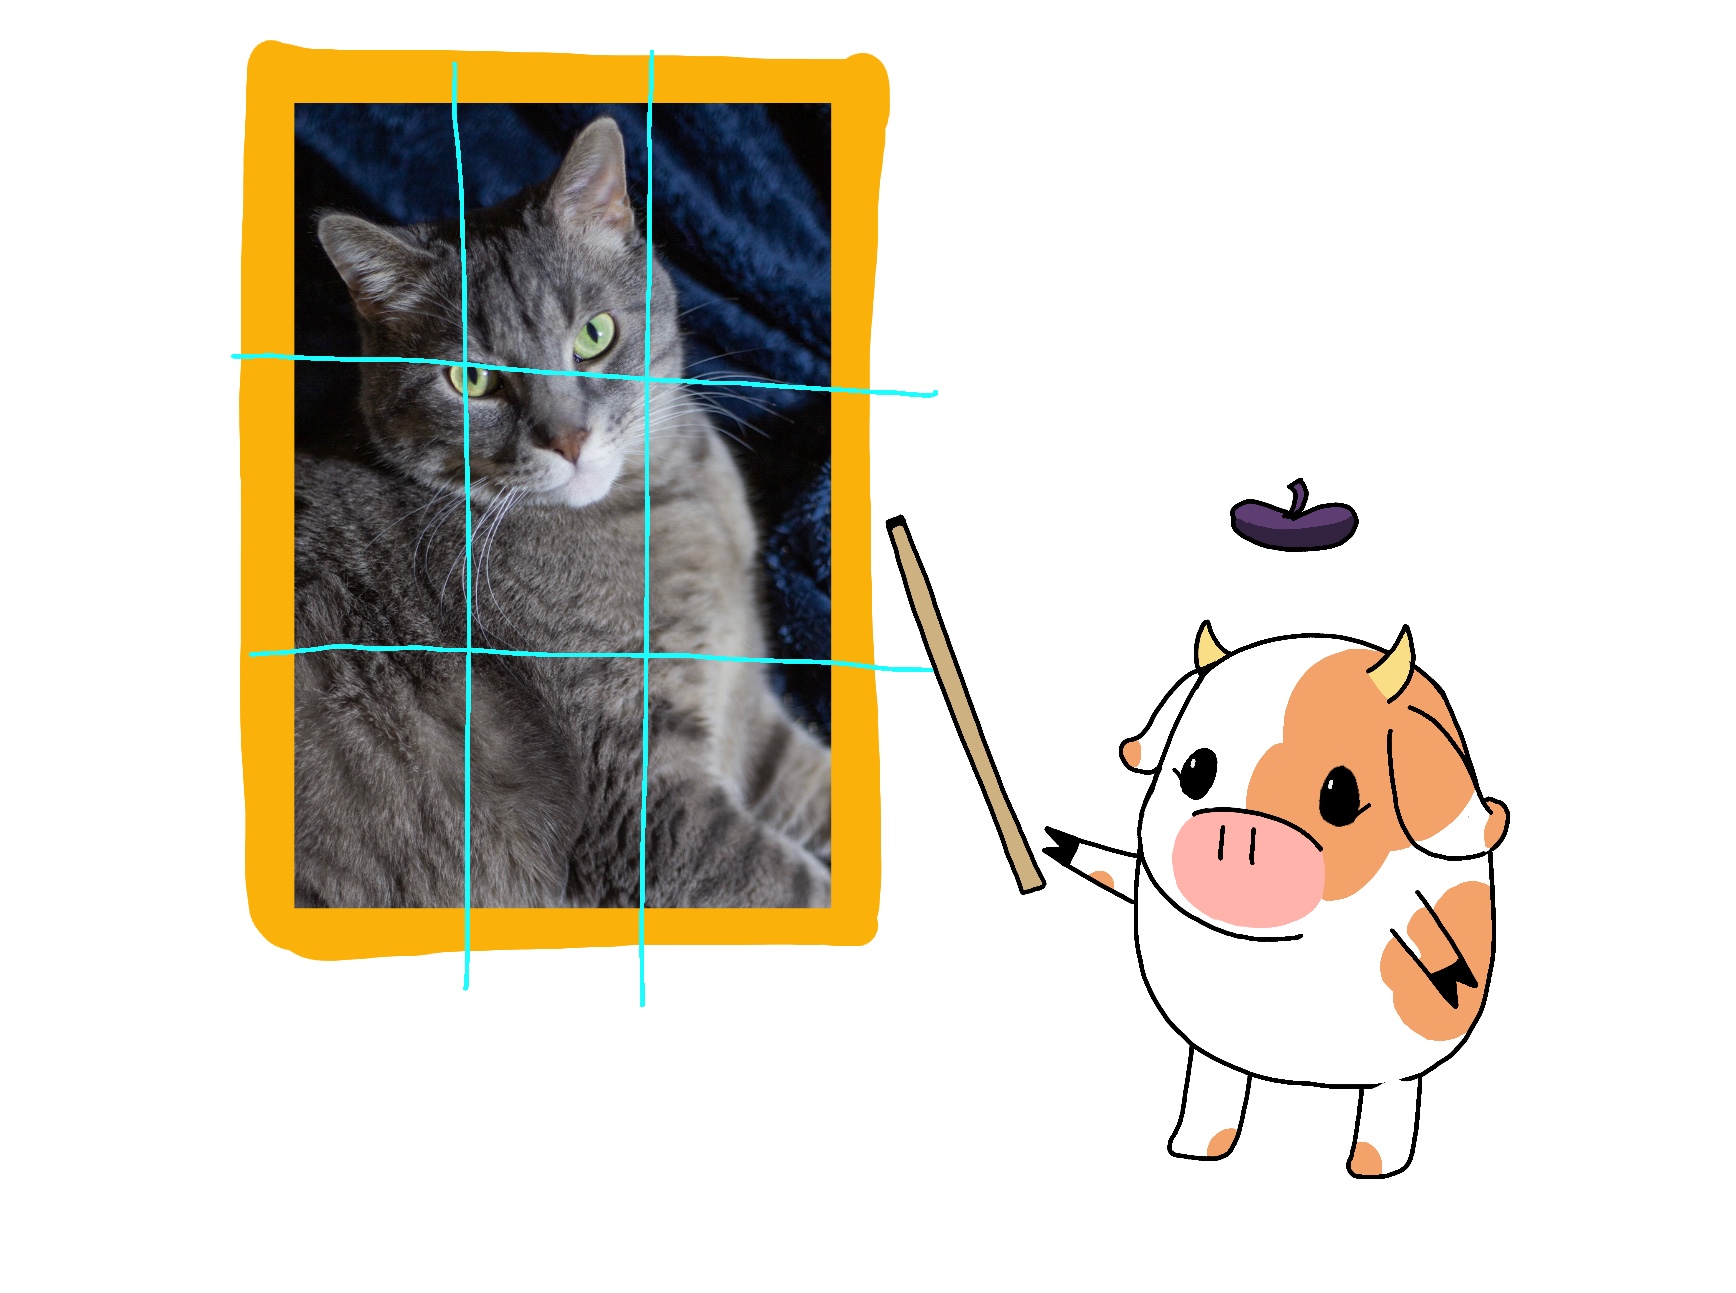
This is a classic composition trick that artists have been using for hundreds of years. To use the “Rule of Thirds”, apply a 3×3 grid to your artwork (you can do this physically, or imagine one). The focal point of your artwork should land at the intersection of the grid.

See how the cat’s eye is in the same spot where the grid lines intersect in this photo? This is an example of how to use the “Rule of Thirds” in composition.
Minimize Your Color Palette
Whether you get your colors from the local art materials shop or the color picker on Procreate, choosing the correct palette can add interest or completely ruin an art piece. When first learning the number of colors and combinations available, it’s hard not to feel overwhelmed.
For artists who are looking for the right colors to choose, try these strategies for color combinations to experiment with in your next project.
Selective color
Have you ever seen those photos that are all black and white except for one object that is in full color? In the photography world, this editing technique is called ‘selective color’. Selective color can be used in drawings and paintings too. Paired with an effective composition, this technique can make an image pop.

In this photograph, the cat’s eye and the toy are in color and the rest is black and white. Try this technique with your own artwork!

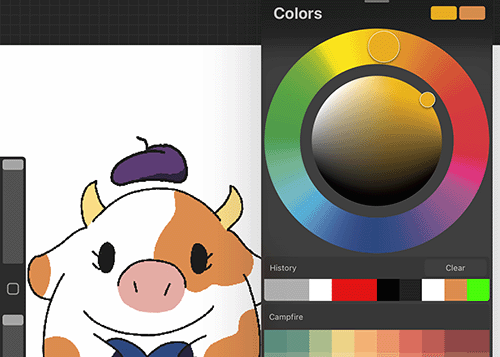
This shows a color wheel in Procreate. Pay attention to which colors sit across from each other on the wheel!
Complimentary colors
Do you ever start a painting in mind with a color that you want to really stand out? Then a complimentary color strategy could be for you. Complimentary colors are colors on opposite sides of the color wheel from each other. Placing a color next to its complement will make that color stand out more. Some examples of complementary colors are:
- yellow and purple
- orange and blue
- red and green
The ‘Zorn Palette’
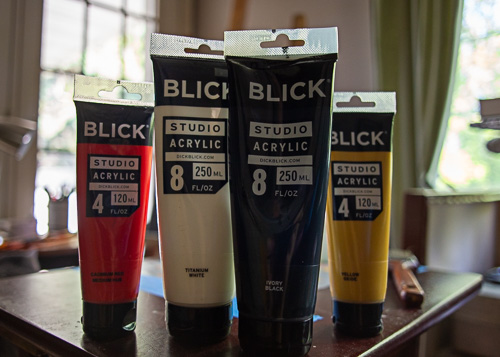
The Zorn palette was developed by Anders Zorn, a Swedish painter. It uses minimal colors to create an array of earth and skin tones. The Zorn palette consists of just 4 colors:
- Vermillion (or cadmium red light)
- Yellow Ochre
- Ivory Black
- Titanium white
The Zorn palette is one of many options for minimalist palettes. By narrowing your colors, experimenting, your work will become stronger.

The Zorn palette is most popular among painters.
Materials and Space
Get Better Artist’s Materials
In some cases, you may be outgrowing your art materials and need to level them up. There’s a lot of variation within art material brands and grades, so it’s a good idea to do research before making your next purchase.
Start with looking at reviews on sites like Youtube and Reddit which can help you decide what to buy. If you do decide to go the route of buying pro-grade art supplies, you may get a good deal buying them second hand. You can find used art materials at thrift stores, reuse stores, facebook marketplace or ebay. You have to be a little bit choosy about the seller you buy from, but there’s great opportunities for finding a good deal.
One last thing to remember is to only buy art materials for a current project (or one you’re about to start immediately). This will help reduce the amount of waste that builds up from a collection of unused supplies. It may also save you a bit of money too.
Create Space for Art
Creating a space to enjoy creating artwork will help you feel more confident and motivated in a space dedicated to art.
Your art making space could be an entire room, or just a well lit corner of your living space. It’s important that you give yourself space to create. Make sure that space has adequate light and ventilation. If you have the means, get furniture that’s as ergonomic as possible. Sitting with proper posture will help with pencil and brush control when creating art.
It also helps to carve out a time during the week that you can work on art. This looks different for everyone, but giving yourself a set time to make art can be helpful for motivation and inspiration.
Conclusion:
You Can Get Better at Art!
While you can use this advice to easily enhance your existing skills, nothing will substitute for practice. So keep making more artwork! Using techniques like mirroring artwork and minimizing color palettes can help, but it’s up to you to incorporate this into your work. Creating space to practice and work on art will allow you to become a better artist and master the skills you’re already developing.
Happy Creating!
Coming to you from:

Writing from: A Flyover State
Drinking: Coffee
Listening to: “Mr Blue Sky” by Electric Light Orchestra
Thinking about: Stretched Canvas

